Creating workflows and automations in Teams
Do you find yourself doing the same task repeatedly? Do you send the same weekly message to your team to remind them to complete their reports? Want to reduce your workload and simplify your life with automation?
Then Teams workflows is your friend. With Teams Workflows you can set up automated workflows that trigger on certain conditions, so you can schedule weekly messages, notify you of changes to specific files, automatically save files from emails to your folders and much more.
The easiest way to get started is to browse the selection of pre-built workflows.
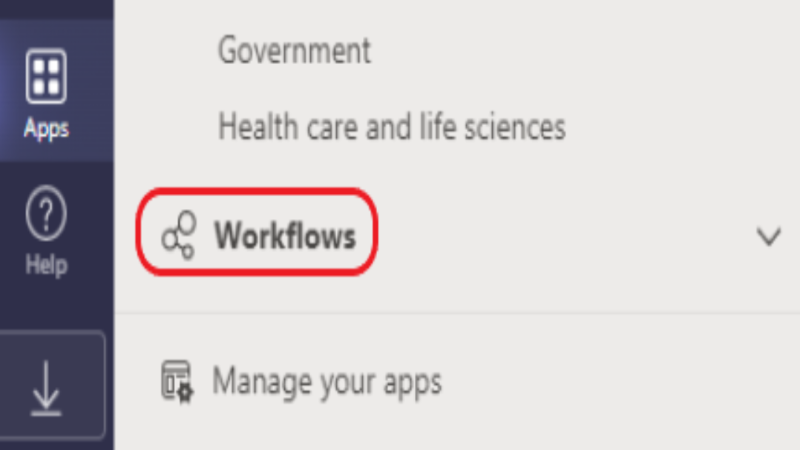
- Select Apps
 from the left of Teams.
 - Scroll and select Workflows
 from the navigation on the right.
 - Select the workflow that you want.
- Follow the prompts given. When done, you’ll get a confirmation saying, "Workflow added successfully!" The confirmation will also include instructions for running your workflow.
Running Workflows
To run a workflow there are several possibilities depending on the type of the workflow.
Your workflow will run automatically. An "automatic" requires no further action from you once you've added it. Each workflow has a trigger, and when the trigger occurs, an action or series of actions happen automatically. Here are two examples:
Run a workflow from a message. Some workflows are designed to act on the content of a single Teams message. Once you set up this kind of workflow, it will appear as an option under the More options menu for you to run from any message. Read step-by-step instructions.
Run a workflow from the messaging area. These types of workflows let you change how a message is typically sent or insert content into a new message. Read step-by-step instructions.
Deleting and stopping workflows
- Select Apps
 from the left of Teams.
 - Scroll and select Workflows
 from the navigation on the right.
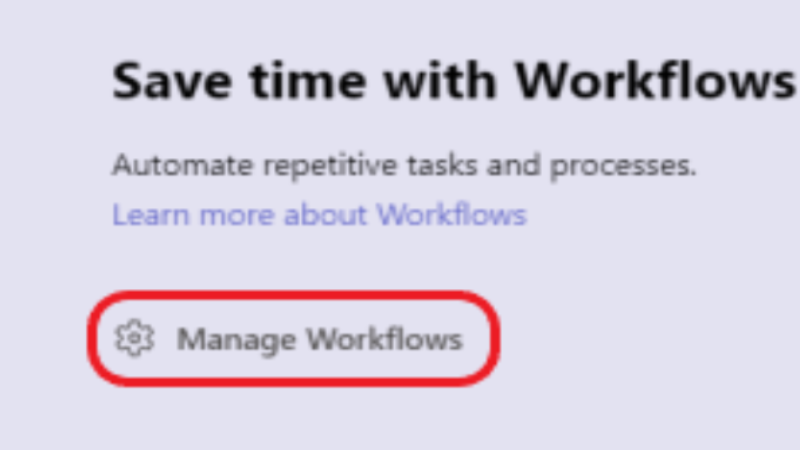
 - Select Manage workflows
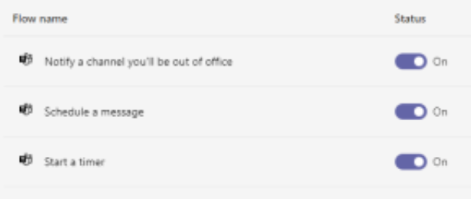
Here you can delete or turn off any workflows you have created.
You can find more information about creating workflows on the Microsoft website.


/prod01/wlvacuk/media/departments/digital-content-and-communications/images-2024/240328-Varsity-Line-Up-Resized.jpg)
/prod01/wlvacuk/media/departments/digital-content-and-communications/images-18-19/220325-Engineers_teach_thumbail.jpg)
/prod01/wlvacuk/media/departments/digital-content-and-communications/images-2024/240515-Spencer-Jones-Award-Resized.jpg)
/prod01/wlvacuk/media/departments/digital-content-and-communications/images-2024/240320-Uzbekistan-Resized.jpg)
/prod01/wlvacuk/media/departments/digital-content-and-communications/images-2024/240229-The-Link-Resized.jpg)
/prod01/wlvacuk/media/departments/digital-content-and-communications/images-2024/240516-Andy-Gibson-Resized.jpg)


